Featured Destinations
***All Graphic can be found on the shared drive. Create a folder in your document called “Featured Destinations”. Copy all the files from the shared Drive into that folder.
Using Tracing Images
It’s possible you will be given a page design that someone else has designed in a graphics program such as Macromedia FreeHand, Adobe Photoshop, or QuarkXPress. If you can convert the page to a JPEG, GIF, or PNG graphic, you can import that image into Dreamweaver and use it as a guide (a tracing image) to re-create the HTML page. The tracing image is visible only inside Dreamweaver. It is not embedded in the HTML code and will not be displayed in the browser. While you’re using a tracing image, the background color or background image of your page will be hidden, but it appears in the browser.
- Define a new site Featured Destinations.
- Create a new document and save it as destinations.html.
- Title the page Featured Destinations. Choose View > Tracing Image > Load. The Select Image Source dialog box opens.
- Choose the file table_trace.jpg you should have copied from the shared drive; then click Select. The Page Properties dialog box opens.
- To see your image on the page, click Apply. Then drag the Image Transparency slider to the left to lighten the image. You want to be able to see the image but not be distracted by it. Continue to drag the slider and click Apply until the image is to your liking. Then click OK.
Up to this point, you’ve had little control over the design of your pages. You’ve wrapped text around a graphic and indented the text on the page, but these options are very limited and don’t always provide the desired effect. Tables can give you more control.
Tables in HTML are very similar to tables in a spreadsheet. Tables in HTML were actually meant to be a means of presenting information in a very organized manner; they contain rows and columns where you can place data. But in HTML, tables also provide the way to design your pages with some control over placement of text and graphics. You can use the cells of a table to put graphics in a location other than just the next place vertically on the page, or you can use a cell to create a sidebar for your text.
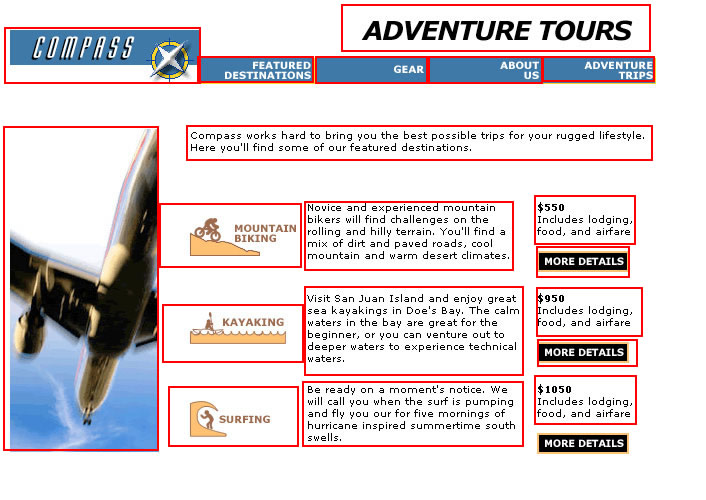
In the next exercise, you will build a Web page based on the tracing image you just imported. The graphics you need for this exercise are located in the graphics file you downloaded earlier. If you defined your site, you should see these graphics in the files panel located at the right of the document window:
You do not have to exactly match the template—just use it as a guide to help you place the text and images.
- Make sure you are in Layout view:
- Click the layout mode:
![]()
- and then click Draw Layout Cell in the Layout area of the Objects panel:

- Place the pointer on the page where you want the cell to appear and then drag to draw the cell. A table is automatically drawn to contain the cell. The cell is outlined in blue to distinguish it from the table, which appears in green. When you move the pointer over a cell, the cell border turns red to indicate which cell you are over.
- Click the red border to select the cell. The cell border turns blue and handles appear, which you can drag to resize the cell. Note: You can also hold down Control (Windows) or Command (Macintosh) and click within a cell to display the resize handles.
- Drag the border of the cell to move the cell to a new location. Move this cell to cover the plane on the left side of the page. Insert the plane graphic from the Lesson 4/Student Project folder in the Images Favorites list on the Assets panel into this cell. Hint: You can just drag the name from the Assets panel into the cell on the page or you can insert the image from the Insert menu.
Draw six more cells to cover the Adventure Tours title, the Compass logo, and the four buttons across the top. To draw multiple cells without clicking Draw Layout Cell more than once, hold down Control (Windows) or Command (Macintosh) as you draw the first cell. You can then continue to draw new cells until you release the modifier key. When you draw a cell on the page, white guides appear to help you place other cells that you want to align with the first cell. Use the horizontal guides to align the top of each cell. The cells should resemble the outline in red below:
- Insert the graphics you unzipped from the graphics file above in the appropriate cells. Type text in the cells that contain text. To hide the tracing image as you fine-tune your page, choose View > Tracing Image > Show. This is a toggle to show or hide the tracing image.
- Save and view your page in the browser.
As you design your pages in Layout view, you will want to move or resize cells or add new cells to add more content. You can also add a background color to each cell or to the table. A layout cell cannot overlap other cells and cannot be moved outside the layout table.