Web Design & Development I
Student Version
Student Version
In this lesson you will use the images you created in the previous lesson along with basic HTML skills from Unit 2 to create a mini web photo album.
At the completion of this exercise, you will be able to:
<a name="album"/>
Next, add each of the 1 x 1 inch thumbnail images to the page using the <img> element. Be sure to include the following attributes for each image:
Once you have added the images, the next step is to create a link from each thumbnail image to the larger, viewable image. See if you can remember how to do this from what you learned in Unit 2.
<a href ="unit4.htm#album">


<a href="images/photo1.jpg"><img src="images/photo1_tmb.jpg" ALT="hiking into an alpine lake" width="72" height="72" style="border:none" /></a>
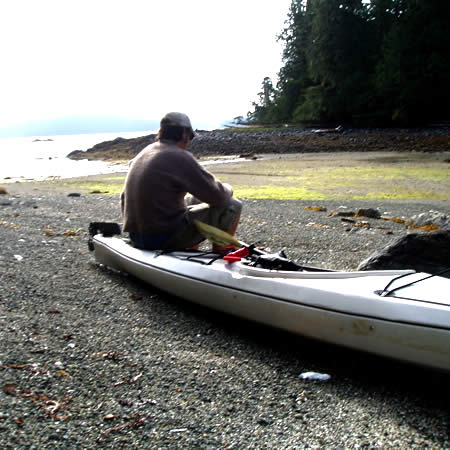
<a href="images/photo2.jpg"><img src="images/photo2_tmb.jpg" ALT="kayaking in Puget Sound" width="72" height="72" style="border:none" /></a>
<a href="images/photo3.jpg"><img src="images/photo3_tmb.jpg" ALT="Lake Diablo" width="72" height="72" style="border:none" /></a>
Would you use tables or CSS to accomplish this? What are the advantages and disadvantages of using each?
Experiment with different methods until you find the one you like best. Share your results with the class and compare it to what other students came up with.
Below are some examples using each method:
Make sure to save your web page. You will be adding more projects to it in future lessons.
Copyright © 2005-2008 by University of Washington. Permission is granted to use these materials in whole or in part for educational, noncommercial purposes provided the source is acknowledged. This product was created with support from the National Institute on Disability and Rehabilitation Research of the U.S. Department of Education (grant #H133D010306), and is maintained with support from the National Science Foundation (grant #CNS-054061S). The contents do not necessarily represent the policies of the U.S. federal government, and you should not assume their endorsement.